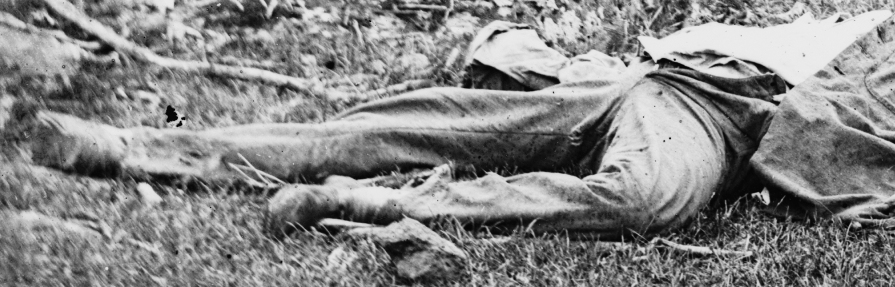
Detail Stereo 4 of the sharpshooter lying downhill
Below are original right and left side details of the stereo taken of the dead sharpshooter lying downhill.
Left side
|
||||
Same as before. Position yourself: Sit back about 30 inches from your screen.
Put your mouse curser on the dark top margin of the 'stereo's right side'. Click and drag the image further right to a point where you can see the full shoe in the left side. Now, concentrate, without blinking, at the junction of the two images. Let your focus lazily drift a little byond, as if you are looking into your monitor. An optical mirage third window will seem to appear between the two images. As you do this, slowly ease the right image over a bit to the right. You should be able to obtain a 3-D effect with a bit of practice.
By slowly dragging the right side stereo image over, more and more, it is posssible to view even more of the leg area. But don't blink or you'll lose it.
Perhaps your eyes have failed you. Well, not everybody can get the 3-D effect. Still, by way of this dual image, you can more clearly pick out the route taken by the seam in the shooter's right trouser leg. See how it travels from the center groin up towards the knee then curves down towards the center of the 'birds nest' crater? Again, it was this seam line that allowed and caused the sharper angle in what was otherwise a round impression.
Click here to go back to first stereo detail.
Click here to visit our Gallery home page.